
Installation
Brasa comes in a single installer, Brasa-X.Y.Z-setup.exe. It installs the editor and checks whether your computer has the tools that Play uses to compile the game.
-
Download the installer from the Download page.
-
Open the file. Brasa doesn’t have a digital signature yet, so Windows may show a blue screen saying “Windows protected your PC”. To continue:
- click More info;
- click Run anyway.
Always download from the official site or from the Brasa releases page.
-
Welcome. Click Instalar (install). If you want to change something first, click Opções (options): there you choose the installation folder, whether you want shortcuts and whether
.brasafiles open in Brasa with a double click. In the top right corner, choose the language: Português or English. The editor opens in it, and you can change it later in Project › Preferences. -
Components. The editor and Lua support always come: with Lua, Play runs right away and nothing else is needed. Check Suporte a C++ (C++ support) only if you are going to make games in C++: the installer downloads about 20 MB more and shows the next step. You can add it later, without reinstalling, in Settings › Components inside Brasa.
-
Build tools (only with C++ support). A C++ game is compiled, and Play needs a compiler to turn it into a program. The installer shows whether the computer already has the C++ compiler and CMake, which come in Microsoft’s Visual Studio Build Tools:
- if both show instalado (installed), just go on;
- if one shows falta (missing), click Baixar e instalar o Build Tools (download and install the Build Tools). The download comes straight from Microsoft. Windows asks for administrator permission only at this step.
You can also click Instalar sem (install without) and install the tools later. The editor opens normally, but Play only works once they exist.
-
Done. When the progress bar finishes, click Abrir a Brasa (open Brasa).
The first screen
Section titled “The first screen”Brasa opens on the hub, the screen with your projects. From here you create a new project, open an existing one or pick up where you left off.
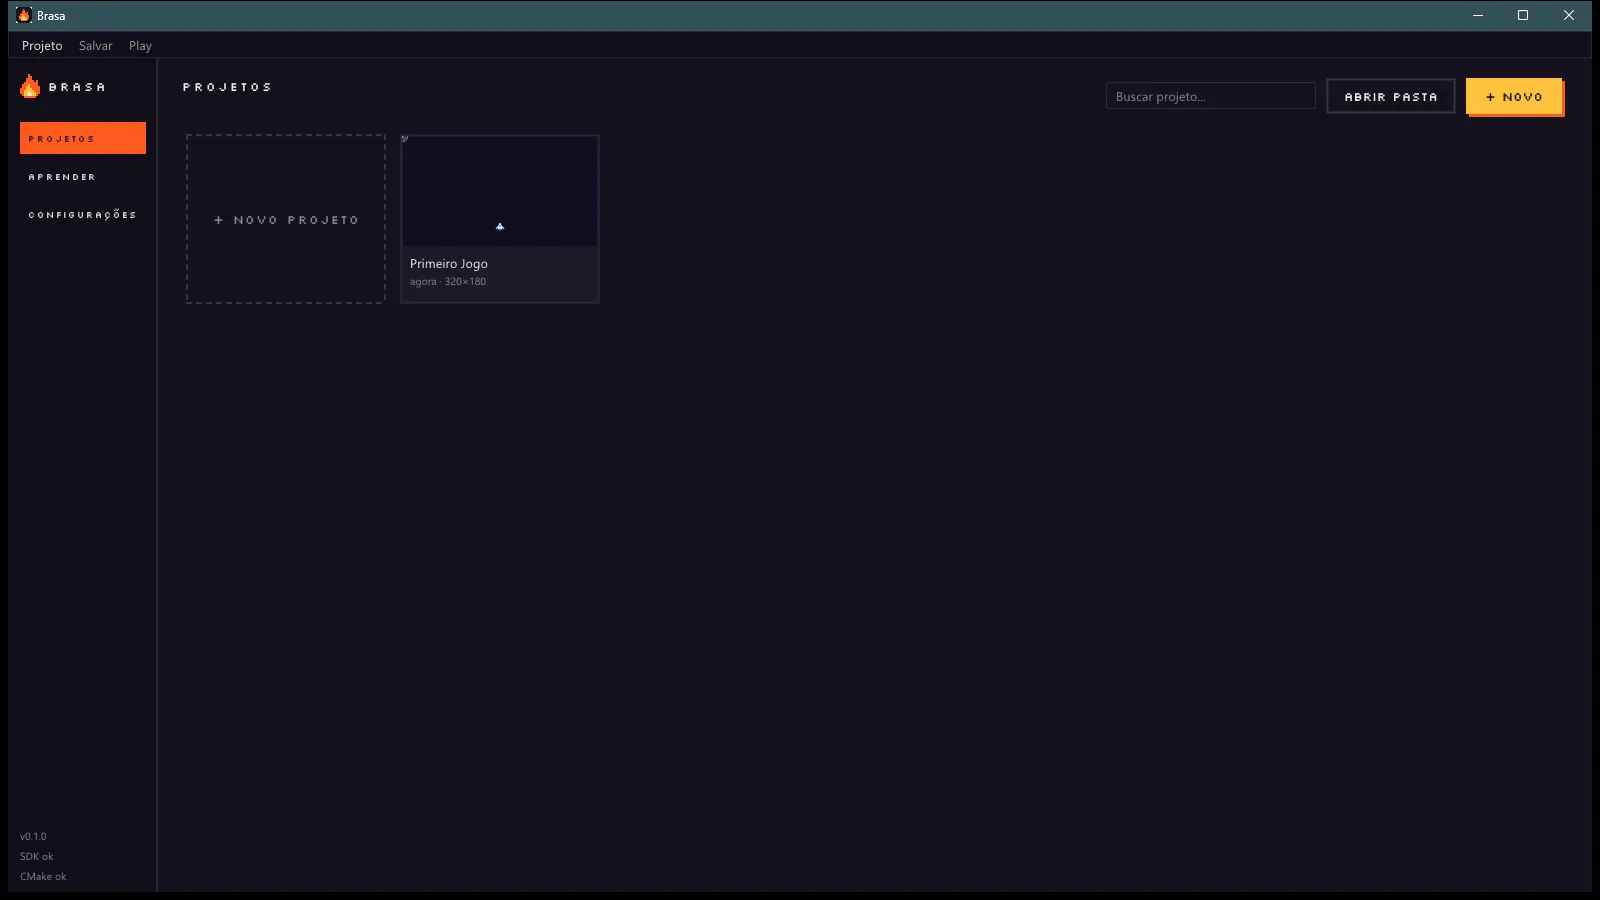
In the bottom corner, SDK ok and CMake ok show that everything is fine for Play. If a warning shows up instead, see Common problems.
Update and uninstall
Section titled “Update and uninstall”Next step
Section titled “Next step”Take a tour of the editor or go straight to your first game.